

Craft a COOL project
So, you’ve been given a project to work on. Don’t know where to begin? Don't worry! With these tips from Anna and Dean, you’ll be sure to do well.

Step-by-step plan
First of all, it’s useful to know what you need to include in your project. Make a list before you start writing, and then just take things step by step.
Step 1: What should you include?
Your project should be structured as follows:
- A foreword
- An introduction
- The chapters
- An epilogue
- A list of references
Your teacher might have told you how many words you need to write. It’s best to stick to this if you want to get a good grade!
Step 2: Your foreword
In your foreword, you need to explain why you chose the topic and what you hope to learn from it.
Step 3: The introduction
Briefly mention what all the chapters are about. This is essentially like a mini-summary. Sometimes, it’s easier to write the other parts first and then come back to the introduction. Because by then, you’ll know exactly what’s in the chapters!
Step 4: The chapters
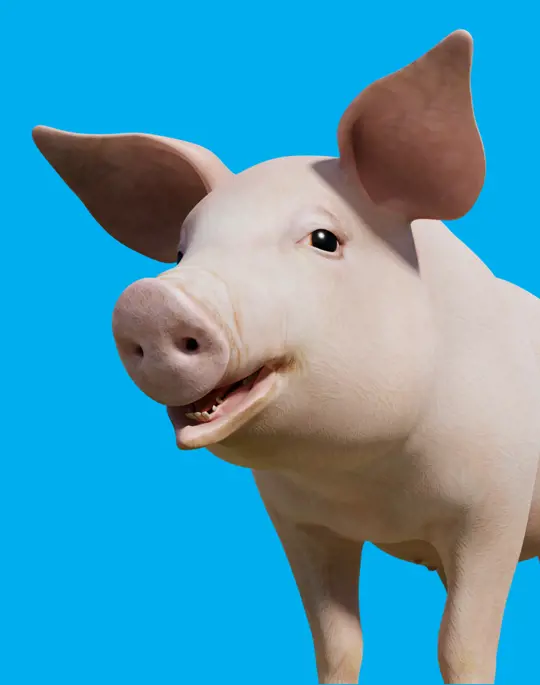
Think of a good title for each chapter, and then start writing. Don’t forget to include pictures and illustrations. Make sure the chapters are in a logical order. Usually, this will be in the form of a timeline, e.g. from the birth of a piglet to a pork chop on your plate. You can also mention all aspects of an animal’s life: eating, drinking, playing and where it lives.
Step 5: The epilogue
In the epilogue, you explain how you found the process of putting your project together. Was it easy to find information? Where did you find it: on the internet or in the library? If you worked with others, how did the collaboration work? What did you learn?
Step 6: The list of references
The list of references brings together all the places you got your information from. Mention the title and author of the book you used. For websites, write down the site’s name and web address (URL). You can find the web address at the top of your browser.
Step 7: Make it look good
First impressions count! That means if your project looks visually appealing immediately, it’ll score marks right away! So, make sure the front cover looks nice. In any case, don’t forget to include the following on the front: the title, a picture or illustration, your school’s name and your own name, of course. Take a look at our Library for great pictures you can use!
A few more tips…..
- Choose a topic you’re interested in, so you enjoy working on it.
- First, make a mind map of your subject: write down all the words you can think of on the topic on one side of paper. Then, you’ll have all your ideas for the chapters in one place and see whether you have enough to say about your subject.
- Your project should have at least three chapters, unless your teacher says otherwise.
- Each chapter should be at least one side of A4 long.
- But don’t forget to include pictures and illustrations to make your project look good!
- You can always ask your teacher for help.
- Don’t just copy everything you read from books or online. You should write everything in your own words.
- Read a piece of text, and write it down as if you were telling someone about it.
- Read everything you write back again. Is it clear enough? Is it flowing well? Ask a family member to read it and check the spelling too.
- Finally, make sure your project looks neat and tidy.
Good luck!


Library
Looking for some nice pictures or films to use in your presentation or project? You’ll find them right here! We’ve also got colouring pages and ideas for activities.
